Category Archives: Recipes

Pinterest – Easy Peanut Butter Fudge {Hit or Flop}

Hit!

This was the easiest and most delicious fudge ever!

Easy-Peanut-Butter-Fudge-Recipe-1240

http://communitytable.com/237303/lorilange/the-easiest-peanut-butter-fudge-recipe-ever/

It is different from your more firm fudges and is a bit crumbly in your mouth but my taste testers loved it. We will be making a lot more of this for friends and family!

Easy Peanut Butter Fudge

By ABIGAIL R. GEHRING
  • MAKES

    About 16 pieces

  • ACTIVE TIME

INGREDIENTS

  • 2 cups granulated white sugar
  • ½ cup milk
  • 1 cup peanut butter (smooth or chunky)
  • 1 tsp vanilla extract

DIRECTIONS

  1. Grease an 8×8-inch baking pan.
  2. In a medium saucepan, bring sugar and milk to a boil. Allow to boil for about 2½ minutes, stirring regularly, and then remove from heat. Add the peanut butter and vanilla and stir until smooth.
  3. Pour the mixture into the pan and allow to cool until set. Slice into 1-inch squares.

COOK’S NOTE

*To make this fudge “dairy-free,” use coconut milk in place of cow’s milk.

KITCHEN COUNTER

Makes About 16 pieces.

Share

Pinterest Cream Cheese Mints {Hit or Flop}

FLOP!

I found a very pretty looking idea on Pinterest for Christmas cream cheese mints.

Cream Cheese Mints

http://realwomen.phillycanada.com/recipes/542739/Cream-Cheese-Mints

Let’s start with problem #1:

Way too much powdered sugar!  It was so think my poor Kitchen Aid mixer could barely handle it.

Problem #2:

Peppermint flavoring was terrible with all that sugar.

Solutions:

After working with the recipe I just finally pitched the bowl and started over with a better recipe.  It is one that was handed down to me and is by far way better!  I was able to make with both mint and banana flavorings with success.

1 1/2 cup powdered sugar
3 oz cream cheese
1/2 tsp extract flavoring

Mix cream cheese, food coloring, & extract.  Add in powdered sugar. Add to pipping bag with large 1M tip.  Create stars on top of parchment paper lined pan.  Chill and package.

Keep this pin purely for the pretty packaging idea but forget the recipe!

Share

Pizza Egg Bake

I have been quite discourage lately with my inability to make pizza without burning it.  The previous 2 pizza days had turned into a charred mess and a houseful of smoke.  So in my fridge sat half a pizza that was plenty burnt and not getting eaten.  I don’t know about your family but mine doesn’t have any burnt pizza eaters.

I hate having to waste food so I found my best friend Google and we hooked up for a quick search session.  After several “meh” ideas I found one that looked fun to try…egg bake.  Egg bake is one of my husbands top 10 favorite foods but has never really been a hit with my boys.  So my first thought is anything with pizza in it will be a home run….right??  Of course, I never actually follow the recipe and made a lot of modifications.  Let’s just say I used 3 things off the original recipe (eggs, pizza, italian seasoning) and from there I came up with the rest.

After some quick chopping, I had a bowl of pizza bits.  I scrapped some of the really, really burnt stuff off and left the rest right on the breading.  I sauteed up some yellow tomatoes, fresh garlic, onions, and yellow squash in light olive oil and added it to the pizza along with 2 tsp italian seasoning.  You could really use any veggies you wanted (spinach, regular tomatoes, olives) although I would recommend keeping the garlic and onions if you add different veggies.

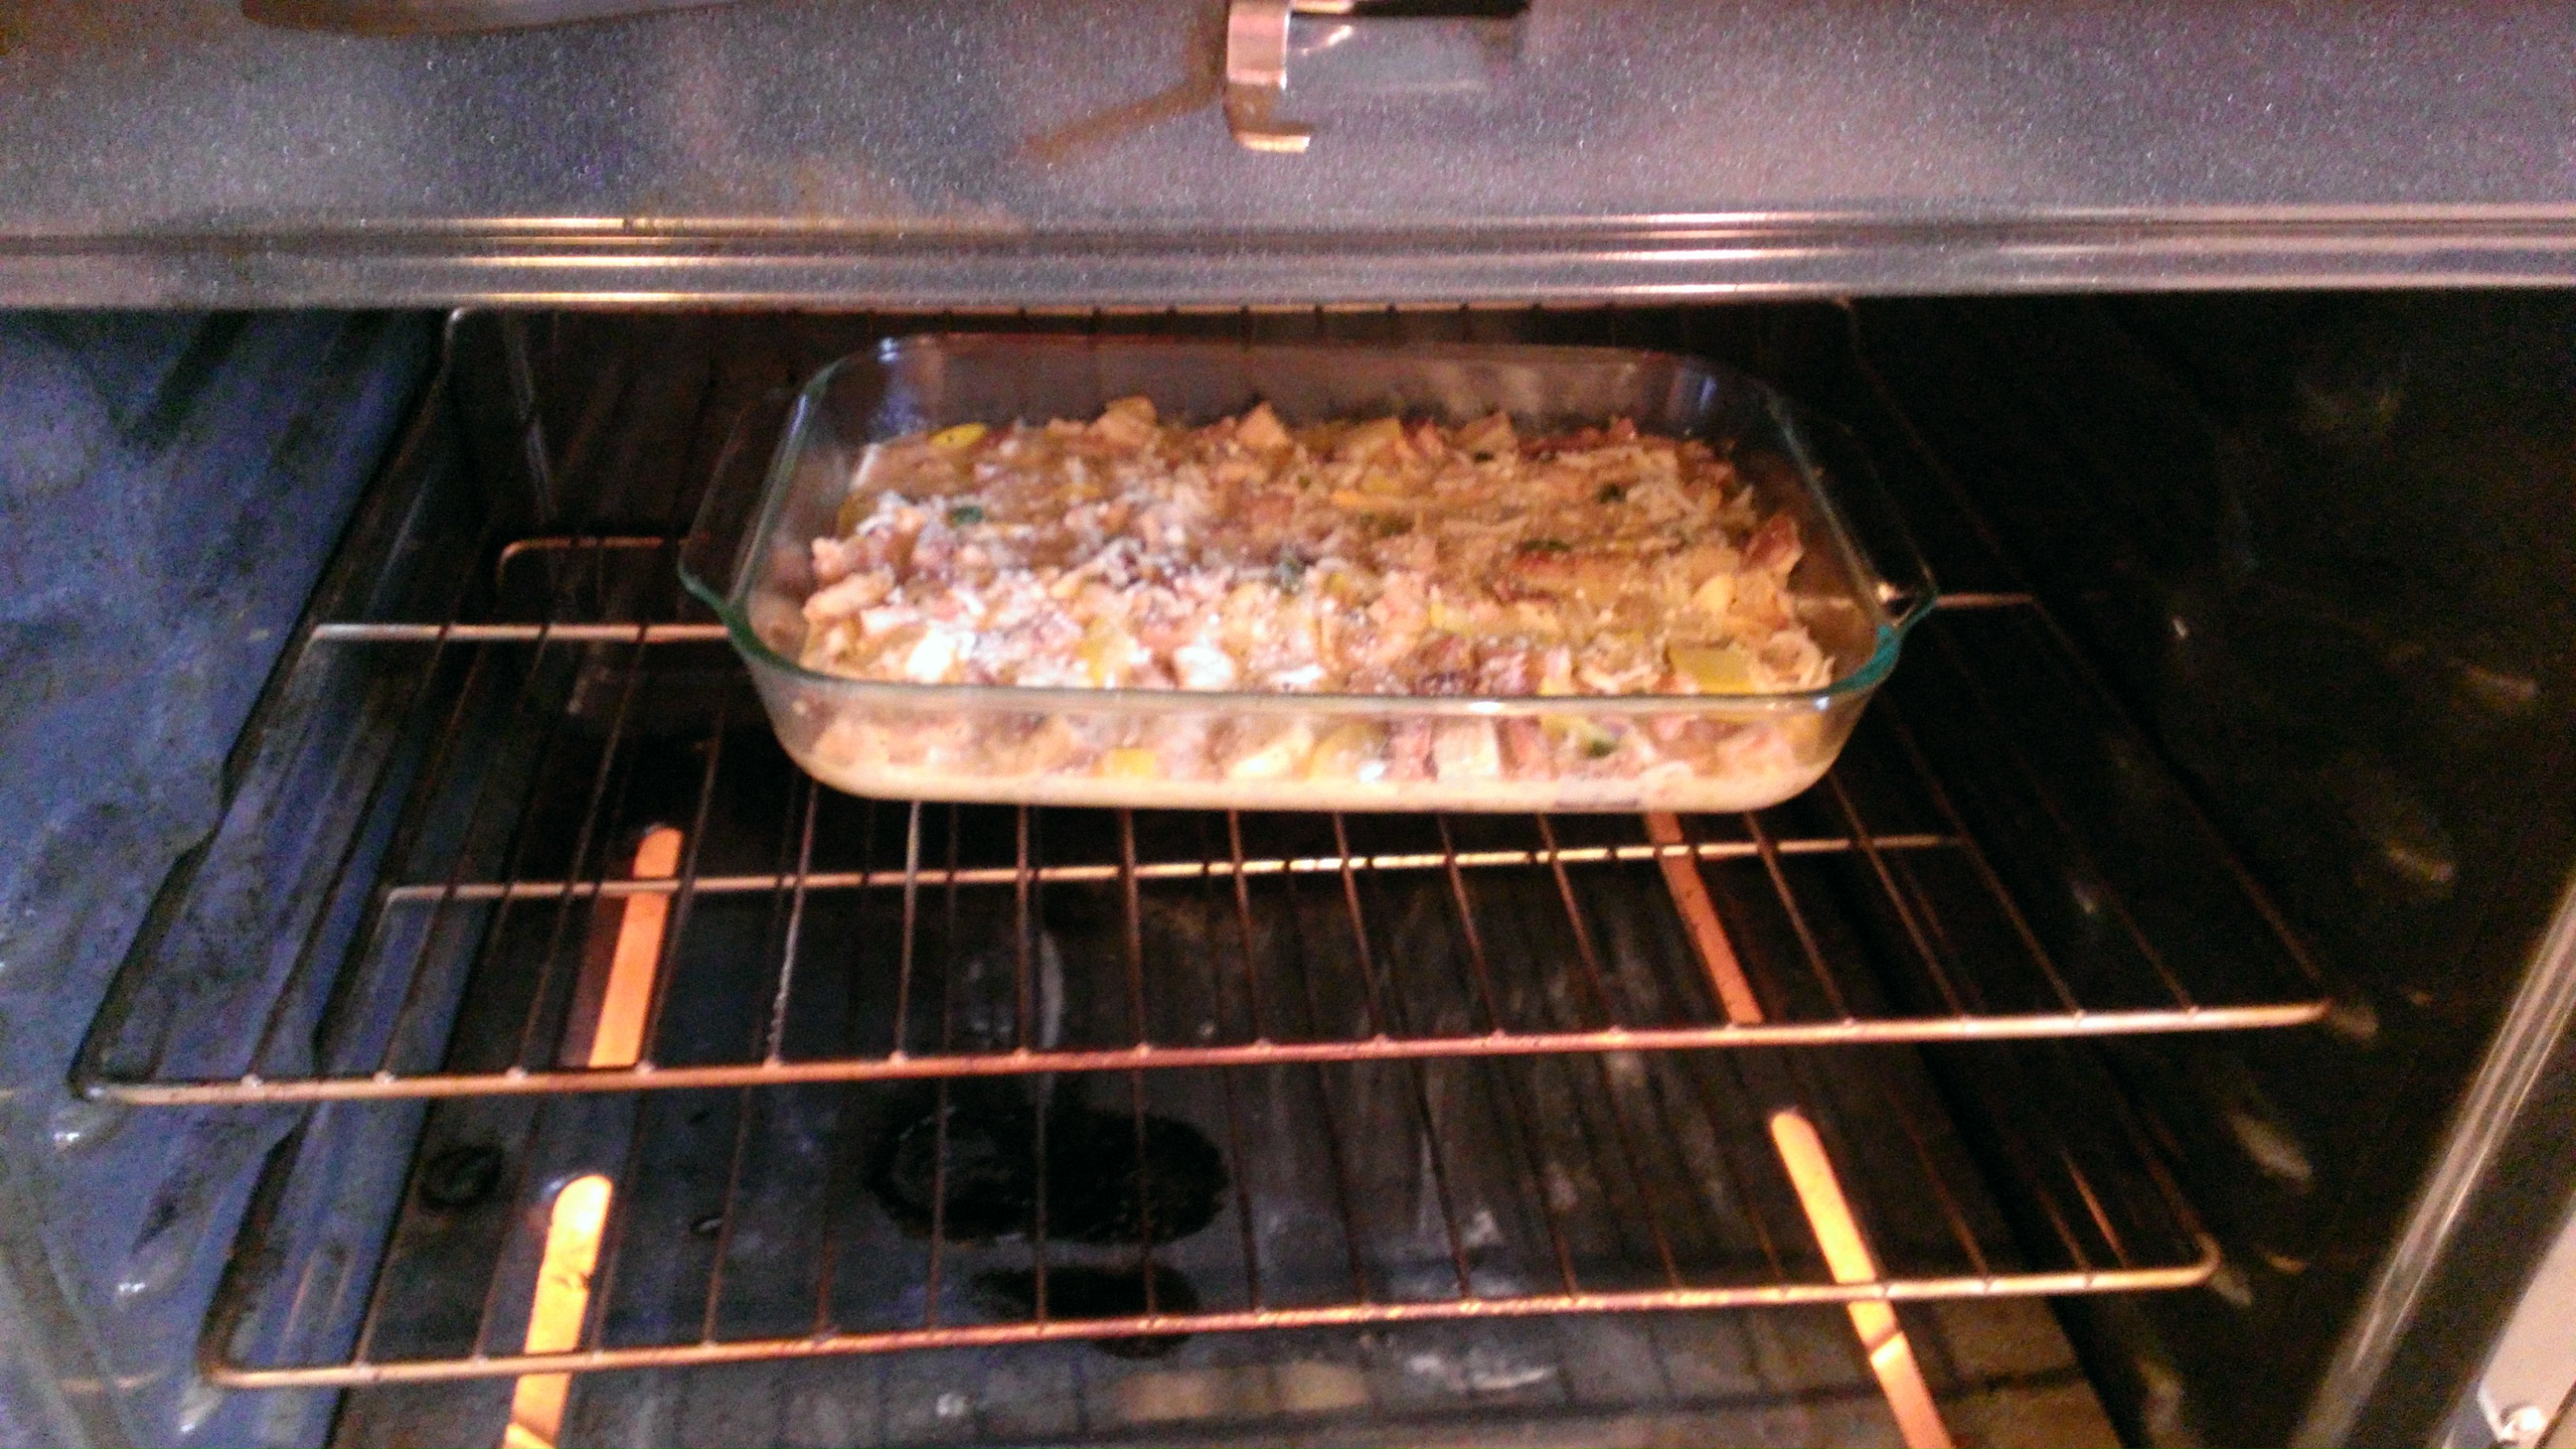
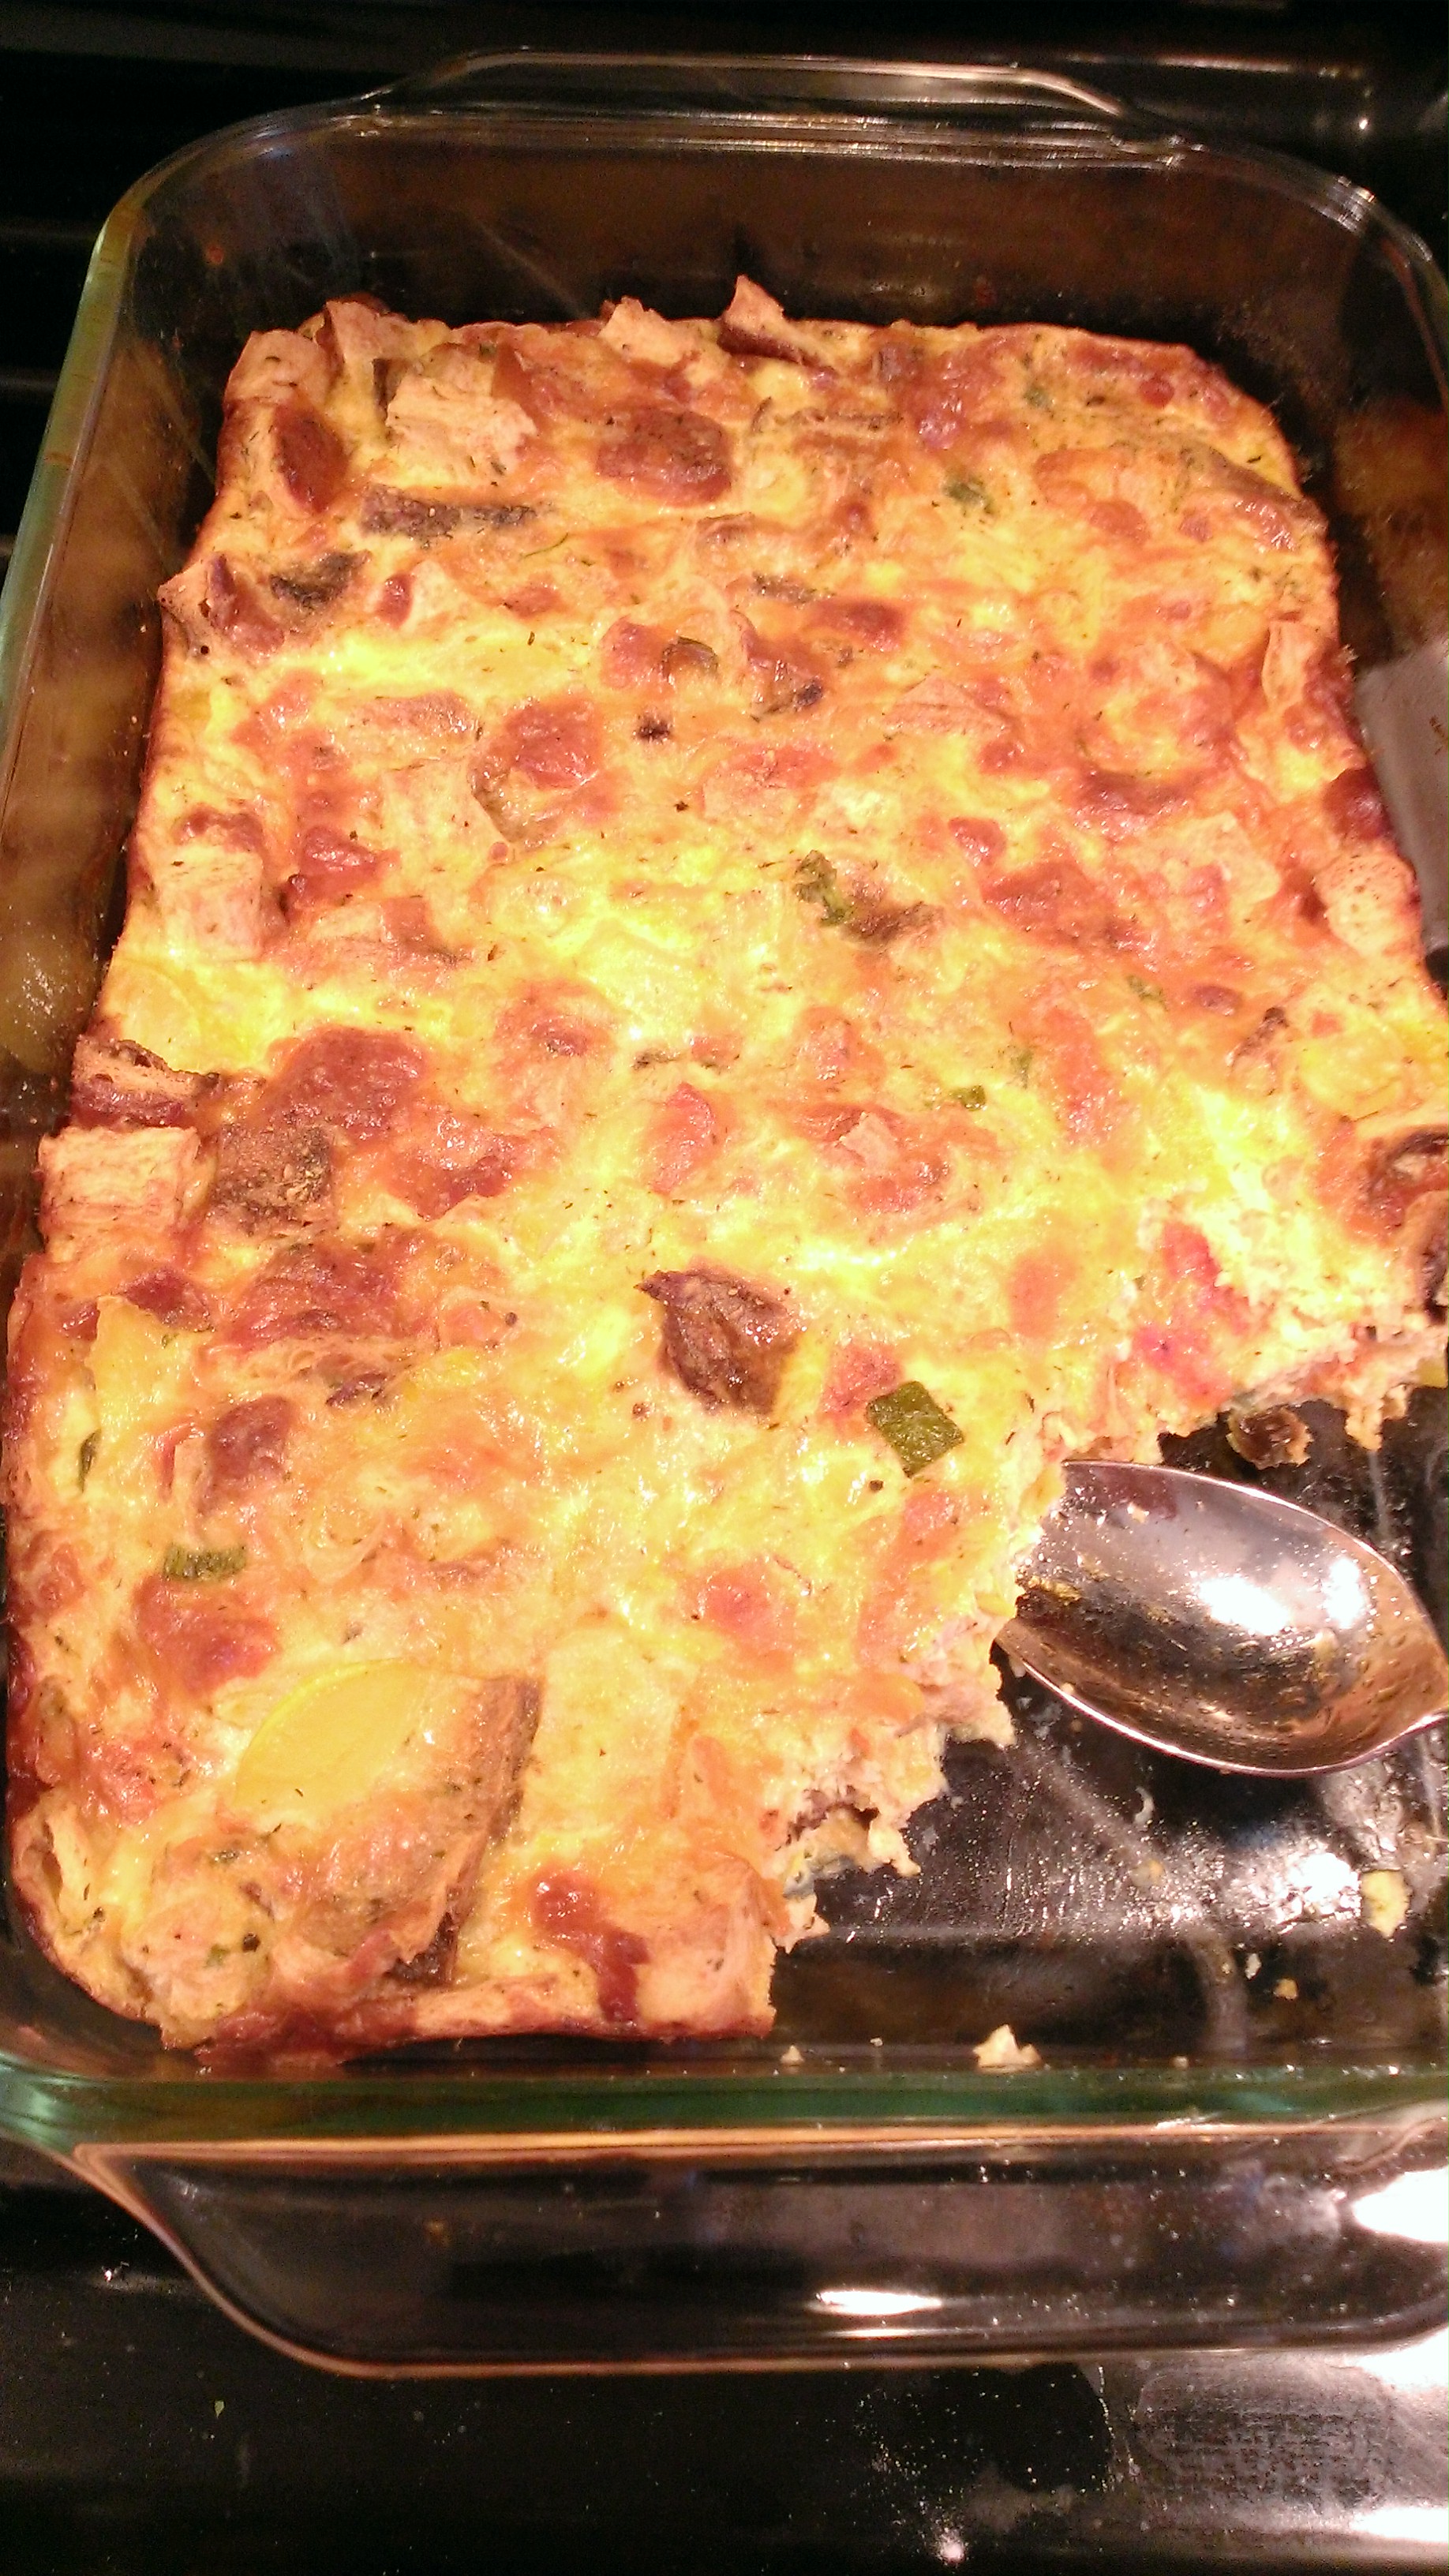
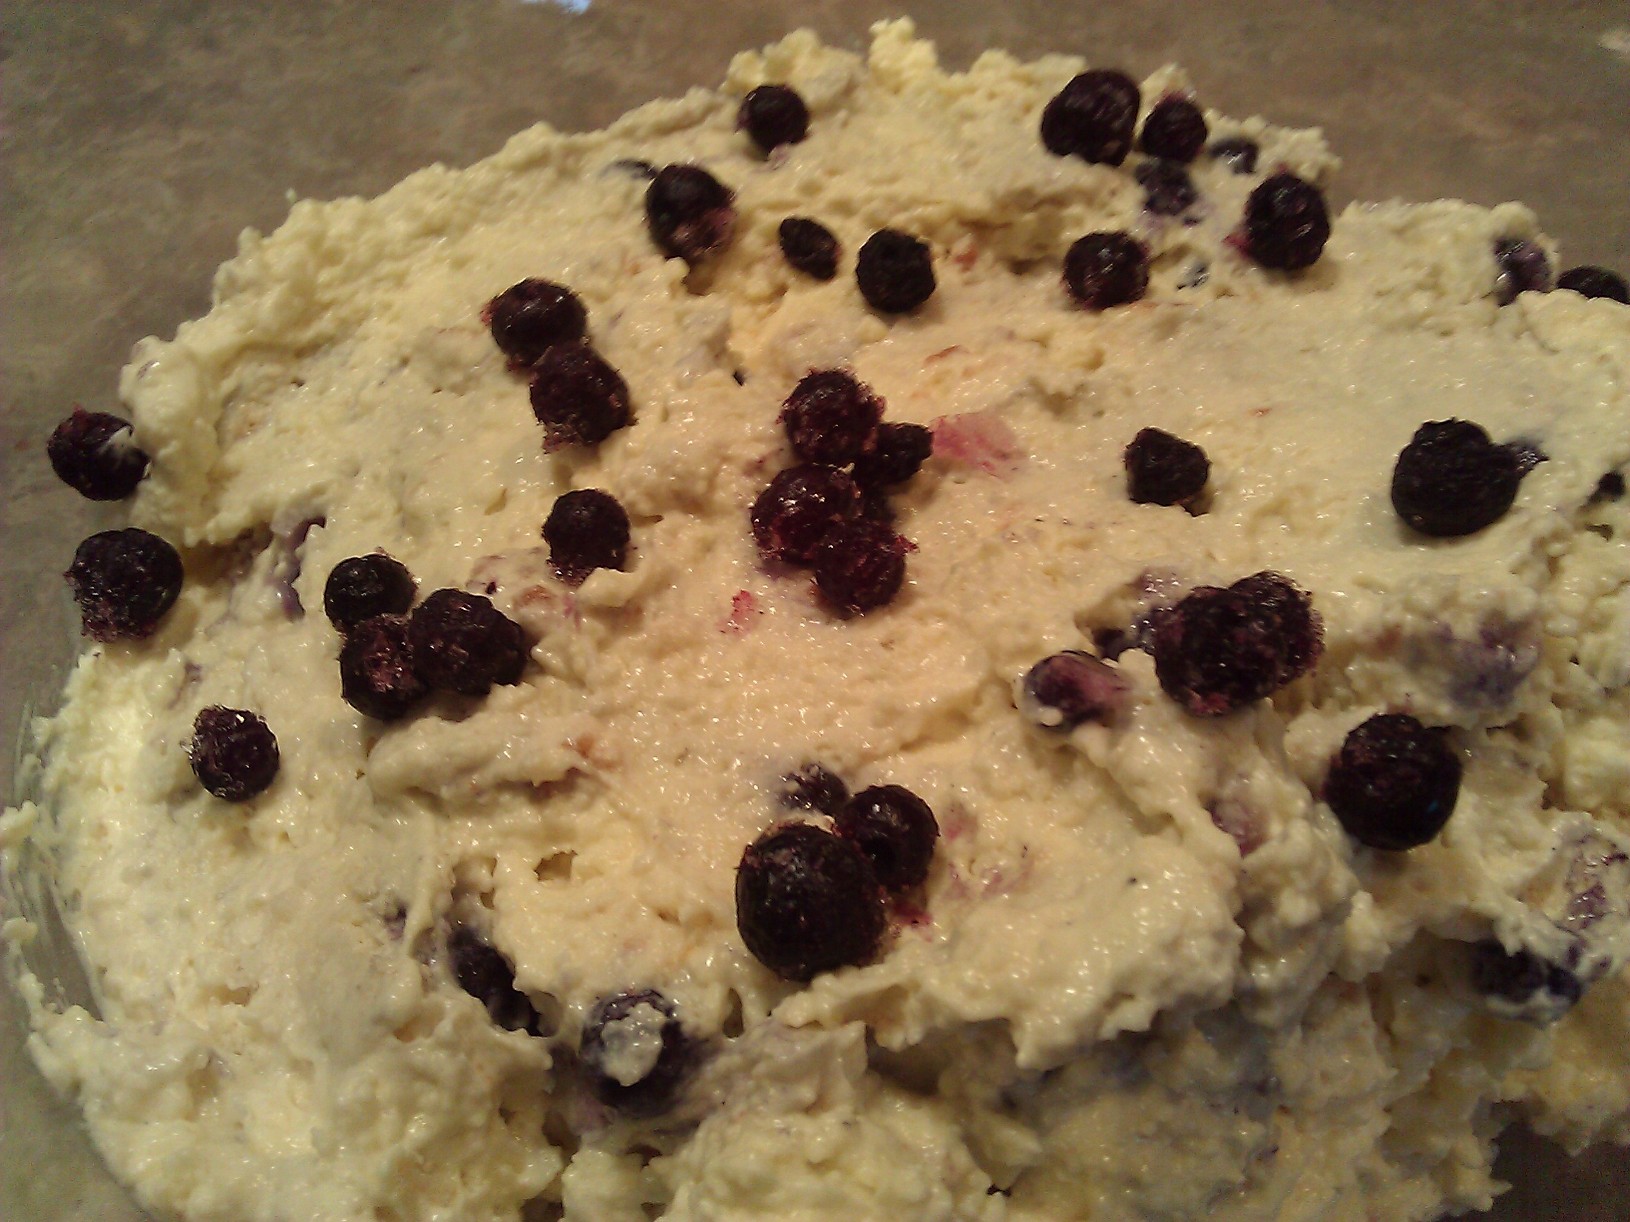
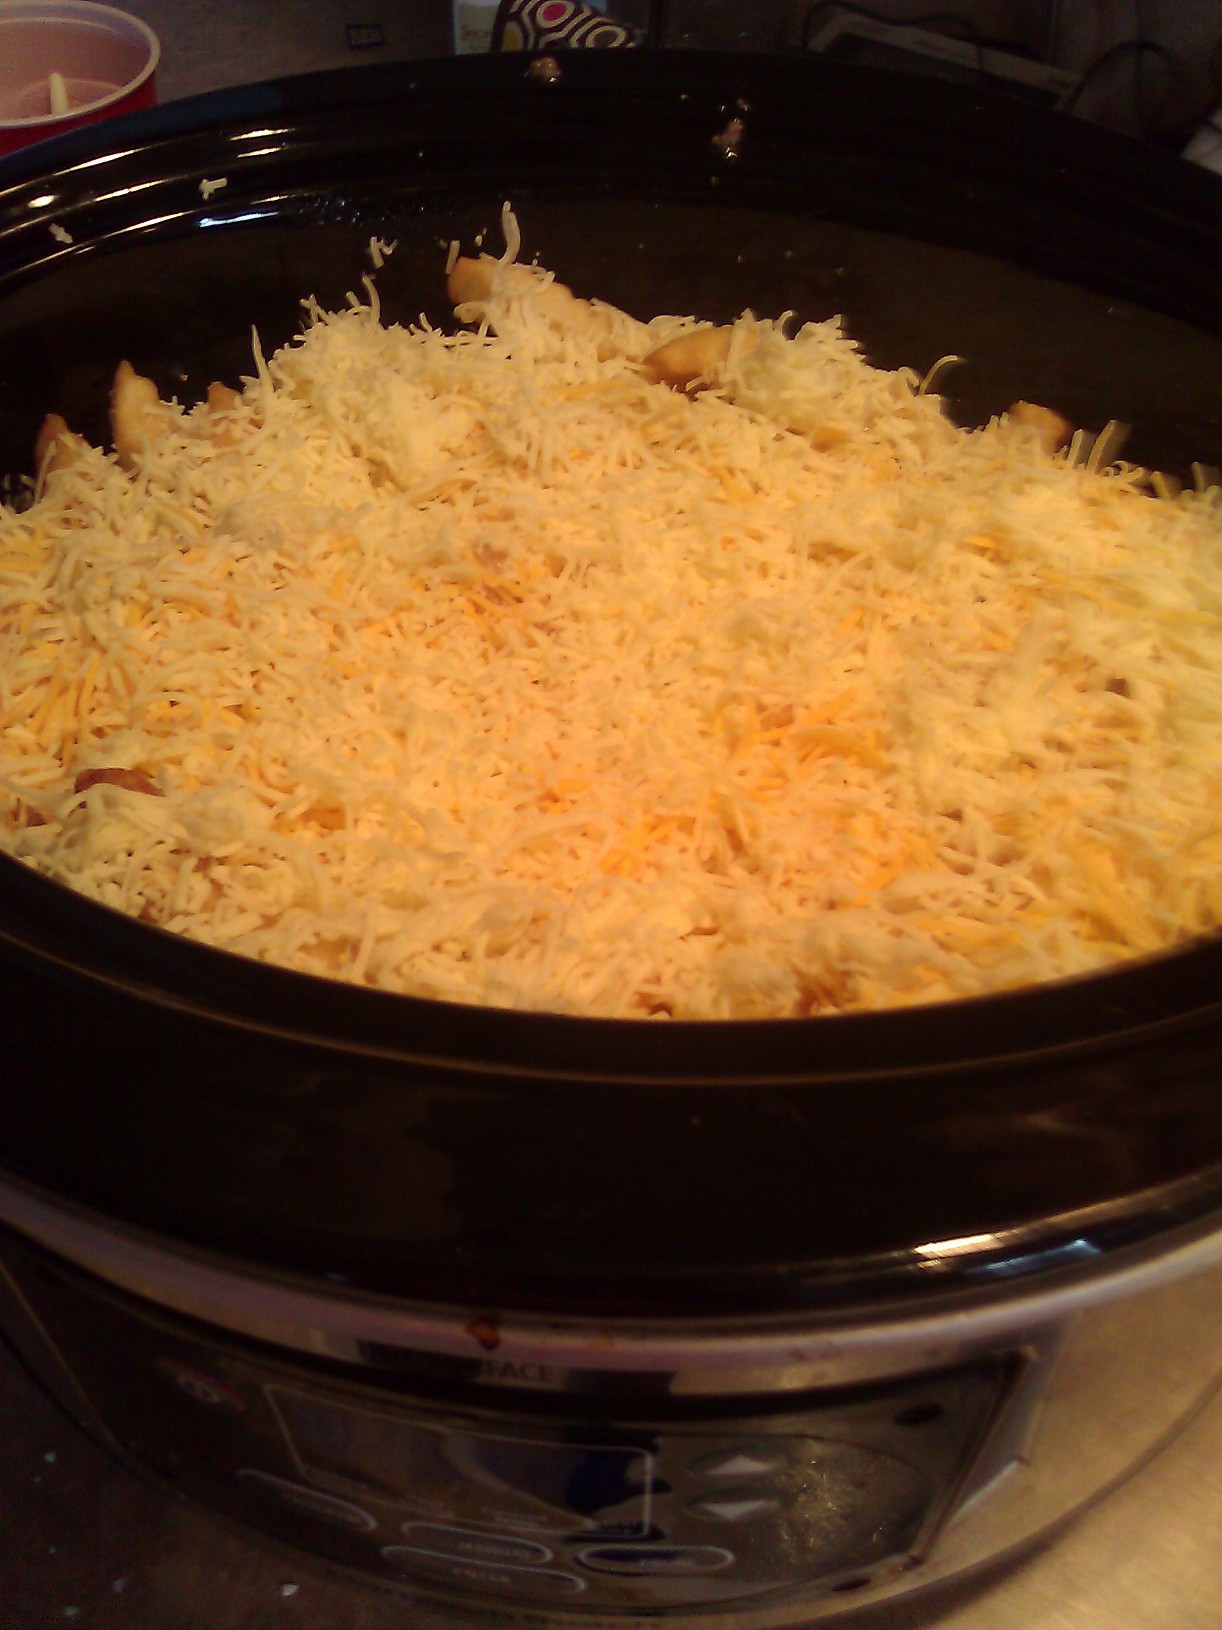
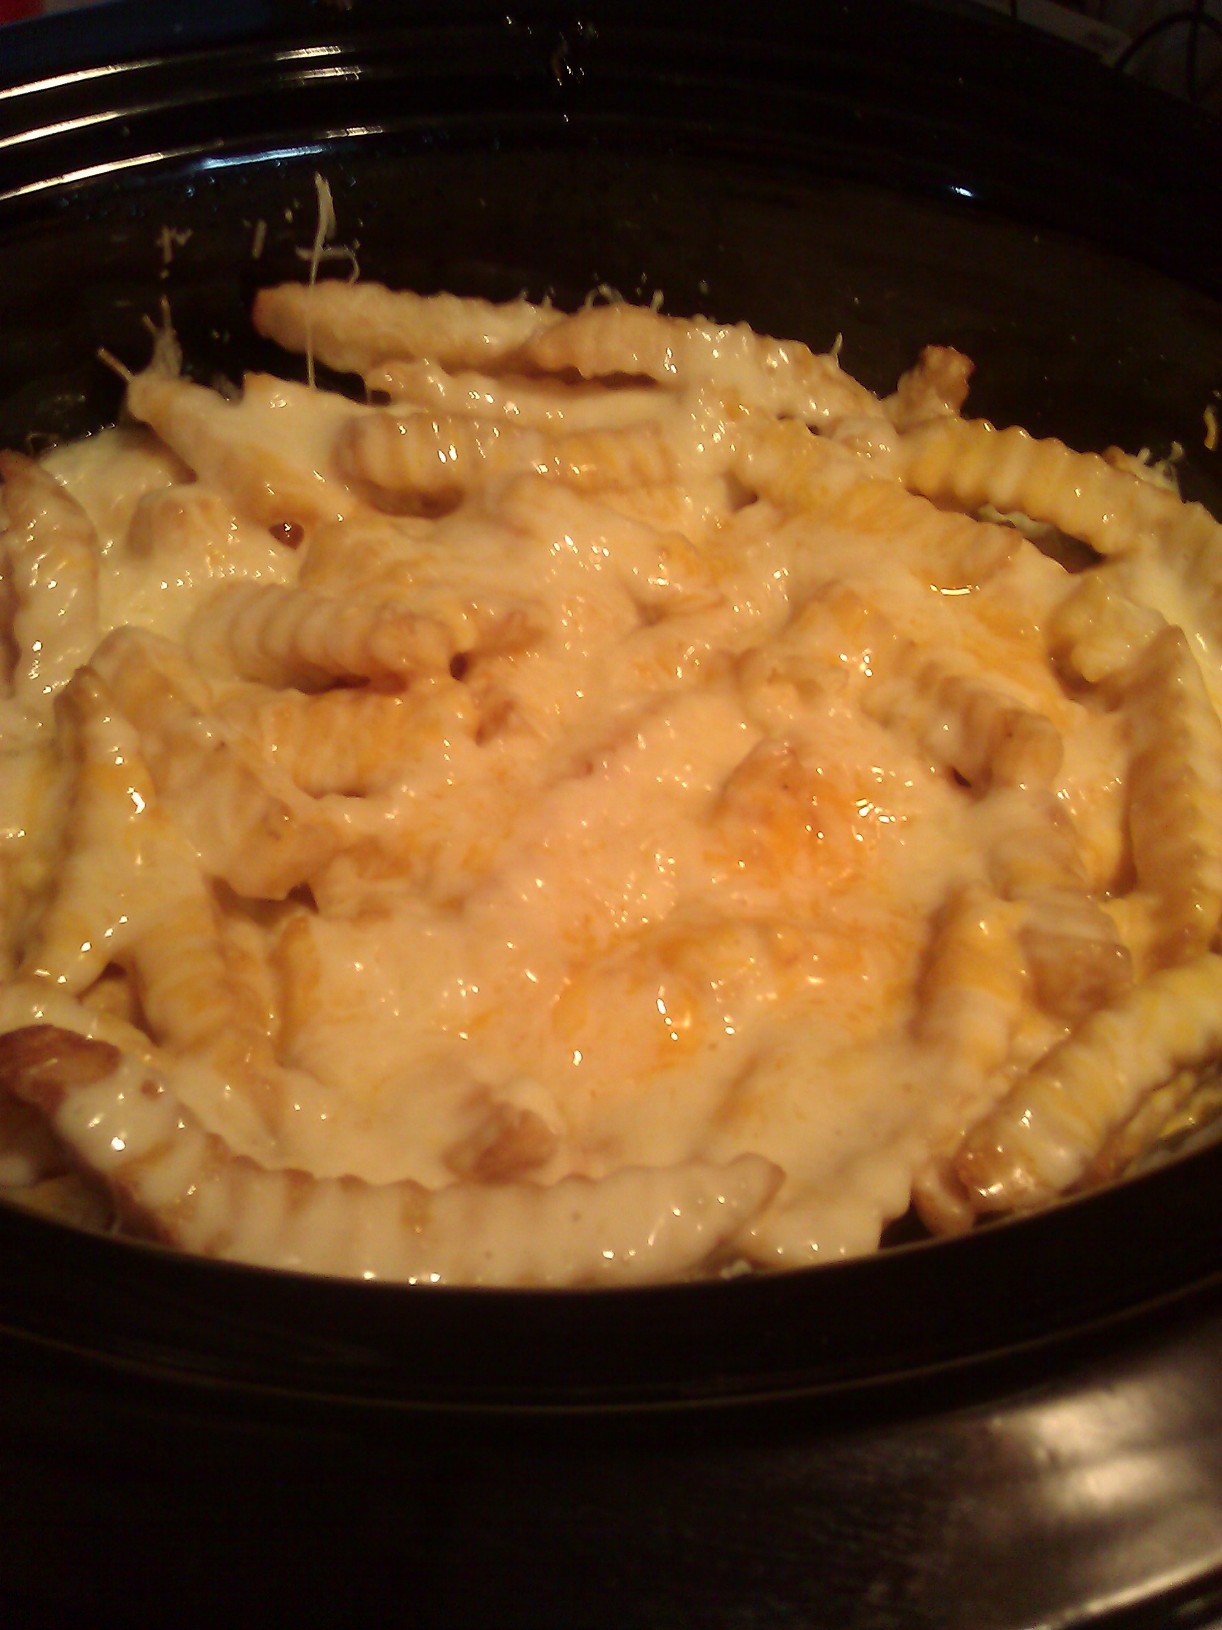
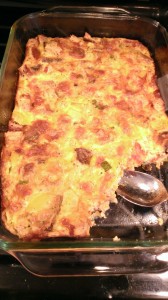
No egg bake is complete without eggs.  In a small bowl I combined 6 eggs and about 1 cup of milk and whisked until mixed.  I stirred 1 cup of cheddar cheese to the liquid and then added it to my pizza mix.  After pouring into a lightly greased dish, I baked it for about 45 minutes to an hour.

My husbands exact words were, “This is the best egg bake I have ever had!”  My non-egg-allergic kids loved it, even the 2 yr old.  Hope it is as loved in your home as it is in mine!!!

Pizza Egg Bake

Ingredients:

2-3 cups prepared pizza, chopped into 1/2 inch cubes
1 TBSP light olive oil
1/2 cup yellow tomatoes
1 medium yellow zucchini squash
1/4 cup onion
2 cloves of garlic, minced
2 tsp italian seasoning
6 eggs, beaten
1 cup milk
1 cup cheddar cheese

Directions:

Preheat oven to 350*.  Place cut pizza in large bowl and set aside.  In medium skillet, combine olive oil, squash, tomatoes, onion, and garlic.  Cook until veggies soft and onions clear.  Stir in italian seasoning.  Pour contents of skillet over pizza and mix well to coat pizza.  In a seperate medium bowl whisk together eggs and milk.  Stir in cheese and then pour mixture over pizza.  Mix well.  Pour complete pizza mixture into a greased 13×9 baking dish.  Bake uncovered for 45 minutes to 1 hour or until eggs are cooked through.  Enjoy!

*Reheats well*

Share

Cake Flop Redemption

The worst thing about making cakes is when a flop happens.  The cake doesn’t bake well, sticks to the pan, sticks to the cooling rack.  Today was one of those flop days.  Not only did the cake bottom stick to the pan but the cake top stuck to the cooling rack.  There was no getting it off the rack in 1 piece.

I have had many of these especially with one particular cake recipe.  Unfortunately it is the recipe that is eggless and is Lincoln’s favorite.  The mix is just too moist and sometimes I just don’t get it baked long enough or the humidity in the house is too high.

Flop after flop I find it harder and harder to throw out the cake.  What a waste!  This time I decided to try something to use the cake but not to make a “cake”.   Today I used a combo of vanilla pudding and whip topping mixed with my flop cake crumbles and topped with blueberries.

YUMMY!!  I much prefer strawberries or fresh blueberries but frozen was I had available so that is what we will eat.  I could sit and eat is all day and I feel better that I didn’t waste a bunch of spectacular cake.

Share

What to do with Leftover French Fries

Do you ever wonder what restaurants are thinking when they send out heaps of french fries on your plate?

It seems like such a waste to me.  Last week we took the kids out to eat and this is exactly what happened.  Each plate was full of enough fries to feed us all…and we had 6 plates!!  Against my husband wishes I kindly asked for a box to bring them home in.  Hubby asked what I planned to do with them and I shrugged my shoulders.  I figured I would think about it later.

I made good on my promise that I would use them.  It took a bit of looking.

Tater Tot Casserole!

My husband was a bit skeptical as to how well it would cook up.  I can honestly say I wasn’t sure how well it would cook since usually I use frozen tots.  I layered all the ingredients and set the crock pot to low for about 2.5 hours.

It was perfect!  Preston seemed to like that it was french fries and the potatoes didn’t fall apart like tots.  I did add more cheese than the recipe called for and I am glad I did.  It kept the fries from getting too crunchy.   You will find the recipe I used below 🙂  Enjoy!

~French Fry Tater Tot Casserole~

  • Brown 2 lbs hamb with onion, Worcester sauce, and pepper
  • While my hamburger was browning I made my Cream of Chicken soup.  Normally one would use Cream of Mushroom but my kids won’t eat it.  Either way you can use canned if you prefer.  Because of soy, I made my own C of Chix.
    • 2T butter melted in pan.
    • I added 1/3cup flour mix until flour is moist.
    • I then added 1 cup whole milk and 3 cups water.  Whisk well to make sure all the flour/butter clumps are gone.
    • Then I added 4tsp chicken broth powder (use what is recommended on your label) and stirred well.
    • I simmered until it thickened.
  • Combine hamburger with half the soup and put in bottom of crock pot
  • Add two cans drained french cut green beans on top of hamb
  • If you are using my Cream of Chicken simply place half of what is left over the green bean layer.  If you are using store bought kind…Thin second can of cream soup with some water and pour about half over the green bean layer
  • Top with french fries
  • Pour remaining cream soup over top of fries
  • Sprinkle 2-3 cups shredded cheddar cheese over top (I used colby and mozzarella because that is all I had in the freezer.  It tasted great.)
  • Cover and cook on low for 2.5 hours (don’t overcook)
Share

Banana Muffins – Egg, Nut, and Soy* Free

Betty Crocker has a great recipe out there but with all of Lincoln’s allergies it was not an option to use.  After a few attempts I revised her recipe into a fluffy, cake like creation that flew off the cooling rack faster than I could cool them.  Every single mini muffin was gone within 24 hours of making them.  I call that a hit!!!

I call this recipe soy free because my son tolerates vegetable oil without troubles.  If you have troubles with soy oils you will want to use another option rather than vegetable oil spread.

Ingredients:

1 1/4 cups sugar
1/2 cup Country Crock spread 
2 tsp baking powder
3 TBS Canola oil
1 1/2 cups mashed very ripe bananas (3 to 4 medium)
1/2 cup buttermilk ( I use whole milk with a dash of lemon juice)
1 teaspoon vanilla
2 1/2 cups all-purpose flour
1 teaspoon baking soda
1 teaspoon salt
1/2 cup mini chocolate chips, if desired

Directions:

  1. Move oven rack to low position so that tops of pans will be in center of oven. Heat oven to 350°F. Grease muffin pans, either 2 – 12 cup muffin pans or 2 – 24 cup mini muffin pans.  I prefer the mini muffin pans.
  2. Mix sugar and butter in large bowl. Stir in baking powder and canola oil until well blended. Add bananas, buttermilk and vanilla. Beat until smooth. Stir in flour, baking soda and salt just until moistened. Stir in mini chocolate chips.  Using a cookie scoop for mini muffins or ice cream scoop for regular muffins, place 1 scoop per muffin cup.
  3. Bake mini muffins for 7-10 mins and regular muffins for 12-14 mins or until muffin tops begin to slightly brown.  Wrap tightly and store at room temperature up to 4 days, or refrigerate up to 10 days.
SERVINGS: 24 muffins or 48 mini muffins

TIPS:

I did also try this recipe with rice milk and a no milk buttery spread to make it lactose free.  It will be a bit more dense if you do this but tasted great.

Share

Egg, Soy, & Milk Free Meatloaf

One child with allergies in a home with no other food allergies can make cooking tough.  I have learned to modify many of our favorite recipes to make them acceptable to eat by all.

Meatloaf has always been a hit in our home.  The problem is that the meatloaf recipe I used to use called for eggs and cheese.  Of course our 2 year old is allergic to eggs and for a while had problems with cheese.  My solution was to modify my old recipe into something he could eat.  Below is the updated recipe we use that has been given 2 thumbs up by the entire family!

This recipe can also be used to make meatballs.  I just prefer the easy, quicker method of meatloaf.

  • 1.5 lb – 93% lean hamburger
  • 1/2 cup – instant white rice
  • 1/2 small – onion, chopped
  • salt and pepper
  • 1 can – tomato soup
  • 12oz – water
  • 1-2 Tablespoons – Worcestershire  sauce (be sure the brand is soy free)
  1. In a medium bowl whisk together the tomato soup, water, and Worcestershire  sauce.  Set aside.
  2. In a large bowl combine hamburger, rice, onion, half of the liquid bowl, and add a small amount of salt and pepper.
  3. Spread hamburger mixture into a 13X9 pan leaving 1 inch between the meat and all sides of the pan.  Now I prefer metal pans because the texture of the meat is better received by my babies.  Glass dishes tend to leave the meatloaf a bit more crisp and I have more issues with the sauce boiling out of the pan.
  4. Finally pour the remainder of the liquids bowl over the meatloaf and along the empty areas of the pan.
  5. Bake covered for 45 mins or until center is 165*.   Removed the cover and bake for 5-10 more minutes to give the top a nice browned texture.
Now that my son is allowed dairy, I have started adding cheese to the top of my meatloaf.  I add 1 cup shredded mild cheddar to the top for the final 5-10 minute baking time.
Share

Superb FREE Online Recipe Organizer

Finding a way to organize my recipes has been a never ending battle.  I have so many recipes sitting in my email box I can’t find them anymore.  After researching many sites I found 1 that I fell in love with.  To make my choice even better…It is FREE!!!

Pepperplate.com  has so many options that I can’t believe it is free.  What really made this a big deal for me was the ability for it so be used across all of my devices.  I can do almost everything from my iPad, Home Computer, husband’s iPhone, and my old Andriod.  I have a windows phone now and unfortunately there is no app for that device but I can still use the full site to work on.

I love the options to plan meals for the week and even create a shopping list based on what I need in the recipes.  I have also found helpful the meal planner calendar.  I could see this being extremely useful for daycares.

The HUGE helper is that I can import many of my recipes I find online!  Several websites are set up to automatically import the entire recipe for you, eliminating the need to copy and paste everything into the recipe area.  There will be some site and blogs you will need to do the copy/paste for however.  Big name sites like Kraft, allrecipes, and myrecipes are a few sites that are set to import.

I might add that the option to share your recipes with friends is nice too.  You can share through FB, Twitter, and email.  I no longer have to copy/paste recipes.

So if you are in the market for an online recipe holder…This is the one to check out!

www.pepperplate.com

Share

Mexican Lasagna

Finding new things to try is one of my top items as a new stay at home mom.  I found this recipe on the Kraft website.  My family approves it for 7years and up.  It wasn’t nearly as big of a hit with the little ones but they eventually did eat most of it.  As for the adults, it was amazing!I made some changes to the recipe myself.
  1. I didn’t have salsa.  I used 4oz medium picante sauce and 12oz mild taco sauce.
  2. I added 1 can black beans, drained (Low sodium bush brand).
  3. We don’t usually have sharp cheddar around our house so I just used mild cheddar (Great Value Brand)

Based on how easy this was to throw together and how well it cooked up, this would be a great meal to prep ahead of time, freeze, and thaw and cook later.  Definitely one to add to the “Baby is coming” Freezer meals.

Layered Fiesta Casserole

http://www.kraftrecipes.com/recipes/layered-fiesta-casserole-75579.aspx 
YIELD: 6 servings
ACTIVE TIME: 20 min
TOTAL TIME: 50 min

 INGREDIENTS
    • 1 lb. extra-lean ground beef
    • 1 green pepper, chopped
    • 1 red pepper, chopped
    • 1 jar (16 oz.) TACO BELL® HOME ORIGINALS® Thick ‘N Chunky Salsa
    • 1 can (14-1/2 oz.) diced tomatoes, undrained
    • 1 pkg. (10 oz.) frozen corn
    • 12 corn tortillas (6 inch)
    • 1 to 1/2 cups KRAFT 2% Milk Shredded Sharp Cheddar Cheese, divided

INSTRUCTIONS
    1. HEAT oven to 375°F.
    2. BROWN meat with peppers in large skillet; drain. Return to skillet. Stir in salsa, tomatoes and corn.
    3. SPREAD 1 cup meat mixture onto bottom of 13×9-inch baking dish; top with 6 tortillas, overlapping as necessary. Cover with layers of half each of the remaining meat mixture and cheese; top with remaining tortillas and meat mixture. Cover.
    4. BAKE 25 to 30 min. or until heated through. Top with remaining cheese; let stand, uncovered, 5 min. or until melted.
    Share